 |
| You know you wanna find this on Friday morning! |
I haven't put a recipe for chocolates up here before, there's a reason for that. Listen, I love chocolate, love it truly but working with it is messy, tricky and annoying. Now add caramel to the mix and I guarantee you a lengthy clean-up.So this is not a quick bake or even an evening after work activity. In fact this is best done over multiple evenings or maybe a whole rainy Saturday because this is a multi-stage process, with multiple clean-ups.

So what would justify this much effort, love of course!
A few weeks ago I intorduced my boyfriend to 'Demets Turtles,' and it was the start of a beautiful sweet relationship. So much so that I felt guilty for not introducing them years ago when I used to eat these delicious treats while living in the states. Unfortunately 'Demets Turtles,' are difficult and expensive to find in this part of the world. However this is the time of year for expressions of love and therefore a home-made take on the classic flavour combination was needed to satiate this burgeoning relationship (between my bf and turtles, not me and him).

So what will you need to create these little cuties for your significant other?
heart shaped molds - I found a silicone heart shaped ice-tray in 'Tiger,' for about £2.
Glass jars - optional
1 Hand-held food processor
1 deep oven dish
Stage 1 - The caramel/ Dulce de Leche
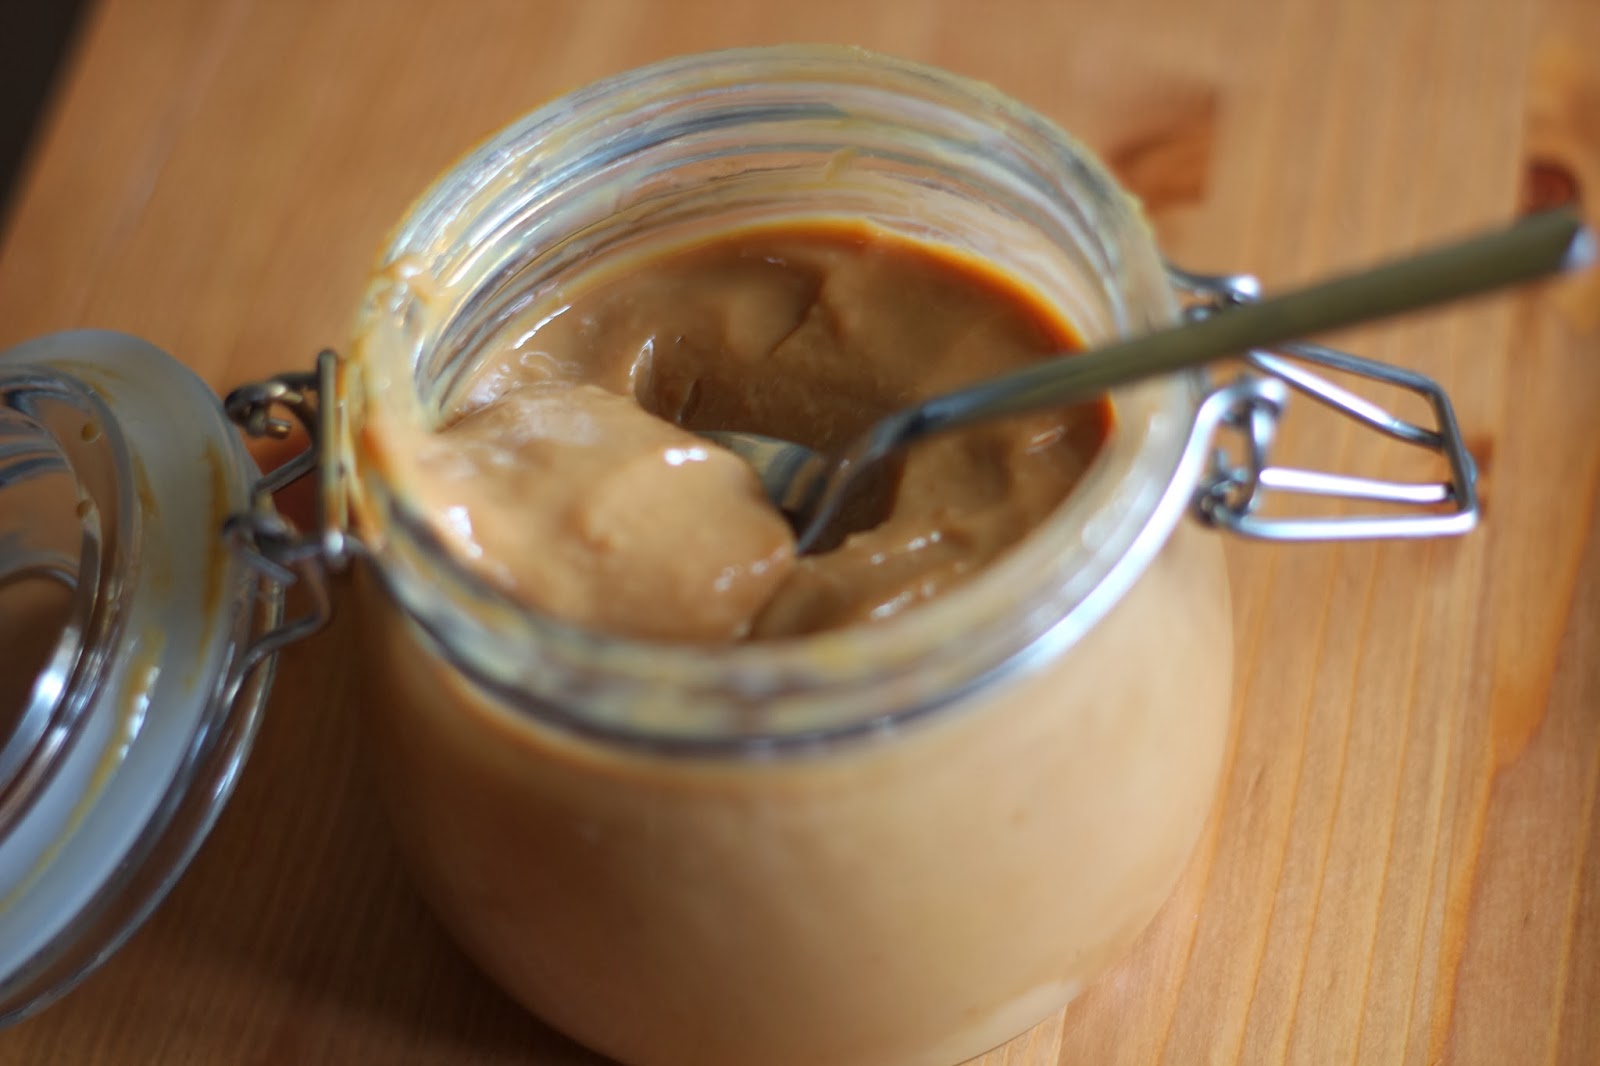
1 Can Condensed Milk
There are a number of different ways to make this and I have always used the method my argentinian friend gave me, which was boiling a sealed can in water for several hours. However the potential for explosion was always a concern and recently I have been exploring other methods, including this one by littlerosebook. Alternatively I have also seen a mild alteration on the original method of piercing the can to release excess pressure, which I intend to try. So you pick your favourite. But note that this process takes 3-4hours and then needs time to cool, so do this in advance!

Pecans
Traditional turtles use only pecans. The pecans you use for these chocolates is such an important element. I was advised once to only ever use pecans from the states because they are the sweetest and have none of the bitter taste that some pecans have. I have followed this to the letter and have found american pecans to work well. It can be tough to find at times but it is worth the effort. Toast the pecans for 10-15 minutes at 150'C/300'F/Gas Mark 3.

Chocolate
Chocolate choice is entirely up to you. Original turtles use milk chocolate. I chose to make these with a combination of 2:1 dark to milk chocolate with milk chocolate accents. Aside from the messiness of chocolate the trickiness for many people is the process of tempering. For those who know, forgive me going over the details, but tempering is a process of melting and treating chocolate in order to keep the fat crystal even and is the difference between smooth shiny chocolate with a crisp break and dull chocolate with visible fat globules that bends without breaking. Obviously you want the shiny, amooth chocolate so tempering is important. Again there are a few different methods but the one I used for these chocolates is demonstrated here by 'Mr Chocolate,' and I found that it works a real treat. These chocolates have thick chocolate but I make a few thinner versions for nibbling and the crisp break is fantastic. Two parts that are unique and effective were changing the chocolate into a cold bowl and blending with a handheld food processor.
Okay lets talk through the steps, assuming you have made your caramel, toasted your pecans and are melting and tempering your chocolate -
1 - Chill your heart molds in the freezer while you temper your chocolate
2- Pour the melted chocolate up to 1/3 of the way up, tap on the counter and then rotate the mold to
get it onto all the sides. You can also use the end of a wooden spoon to lift the chocolate up onto
the sides. Once everything is well covered place into the freezer for 10 minutes If you wanted
thinner chocolate you could invert the mold and let the excess drain but I wanted lots of chocolate.
3 - Now alternate between a little spoon of caramel, then nuts, then more caramel followed by more
nuts. Make sure that the nuts don't come above the level of the top of the molds. To ensure it is even you can scrape a palate knife over the top.

4 - Put the filled molds back into the fridge while you temper some more chocolate, or re-melt your
tempered chocolate.
5 - Pour the melted chocolate onto each heart until they overflow. Then smooth everything out with
the palate knife and return to the fridge or freezer or let the chocolate dry on the counter. After ten
minutes return it to the counter and let it return to room temperature.
6 - Once the chocolates are room temperature gently press out the chocolates. The excess will break
of and you will be left with beautiful chocolates.

7 - If you would like to add some decorations in other chocolate, return the chocolates to the fridge while you temper that chococlate (I wasn't lying about this being a long process). Remove the chocolates from the fridge and put the melted chocolate into a piping bag, snip a tiny, tiny corner and then flick the chocolate back and forth to create this design.

So now you are finally ready to give these to your loved one. You could box them or present them with a cup of tea but either way enjoy one for yourself too ;)

 |
| You know you have to try one! |


These look unreal!
ReplyDeleteThanks Lucy =)
DeleteSo dainty and beautiful! You have the patience of a saint making choco from scratch! I hope your man appreciated the effort :)
ReplyDeleteHe did and thank you again for the caramel technique!
Delete